Triumph TR6 Broken Clutch Fork Pin Replacement
A photo album for your amusement.
04/2006
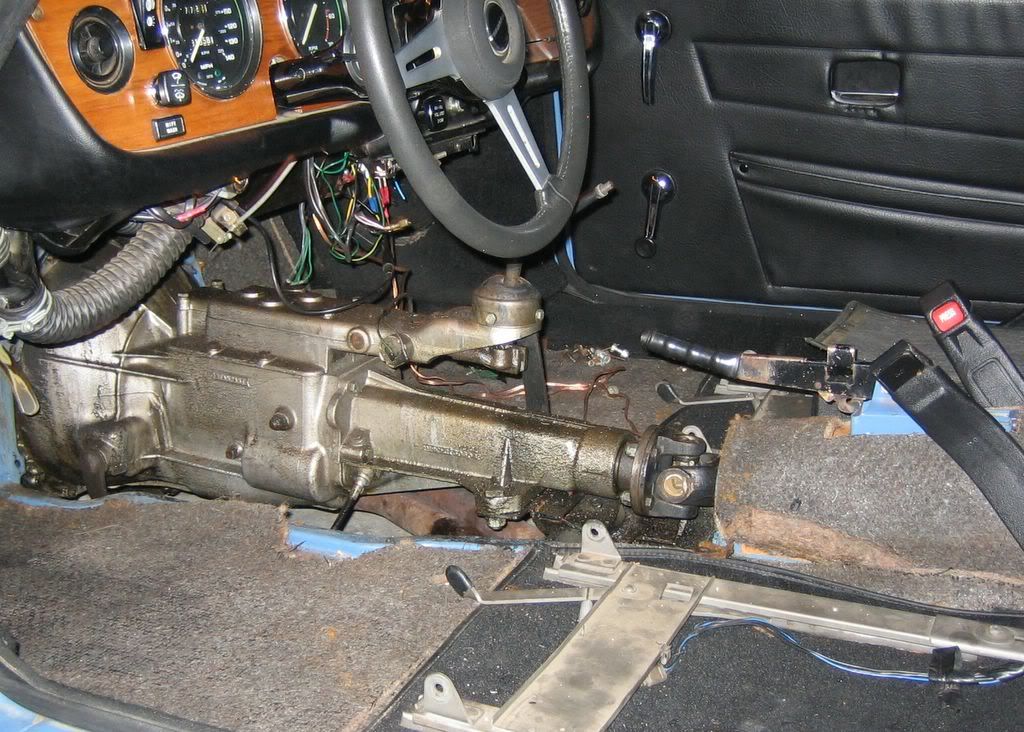
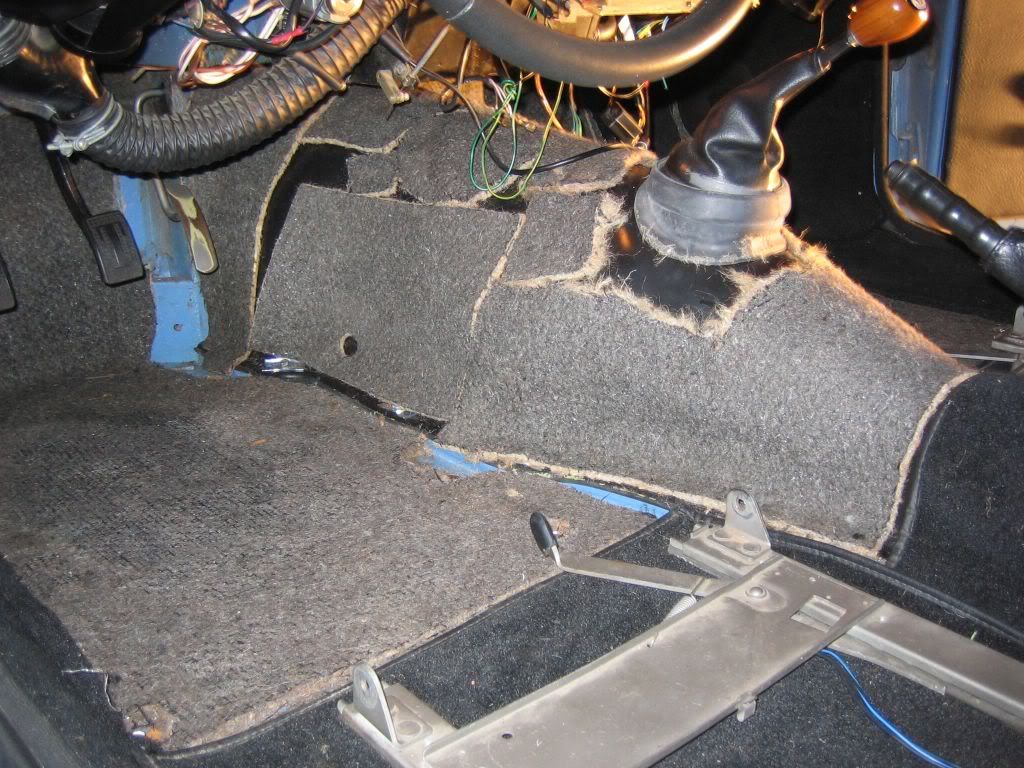
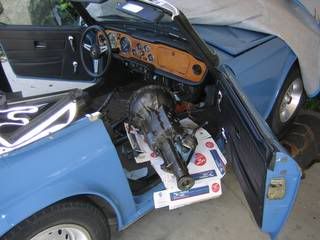
So my clutch action had been degrading over a period of months. Finally it got to the point where I could no longer put my car into gear with the engine on. OK, so I'll fix my broken throwout bearing fork pin already! It's like I'm a real TR6 owner now, this is one of those 'rite of passage' type of repairs.
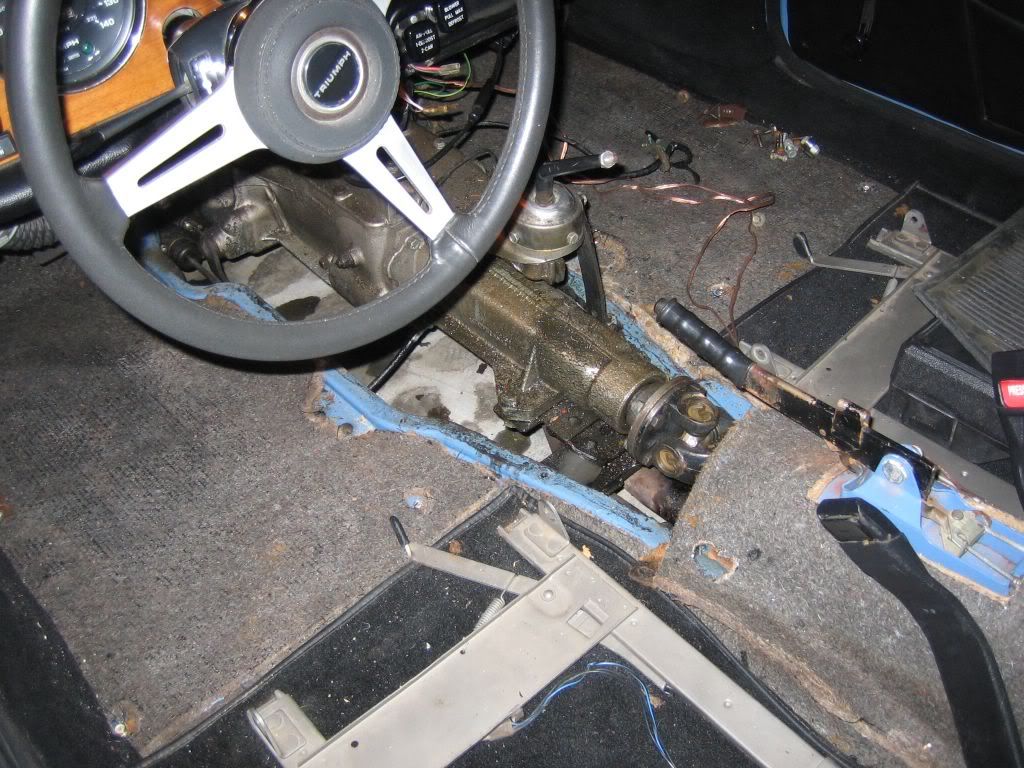
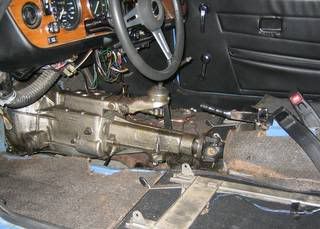
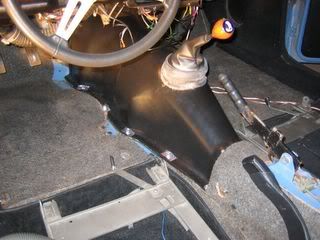
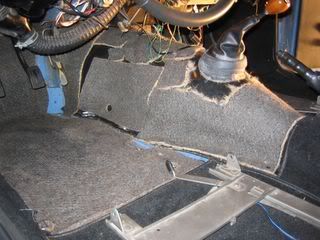
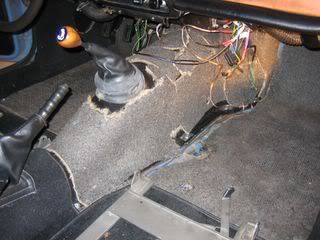
The transmission (from here on referred to by the more British term 'gearbox') is shown below after removing the interior. Apprently the oil all over the gearbox is coming from where the selector rods go into the top cover. I had intentions of fixing this problem but it turns out thats sort of an involved job that I just wasn't interested in tackling at this time.
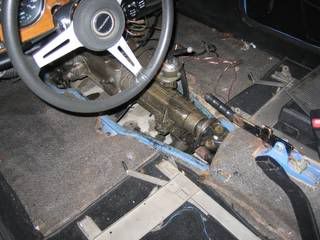
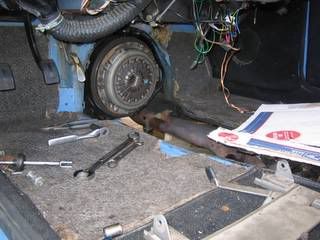
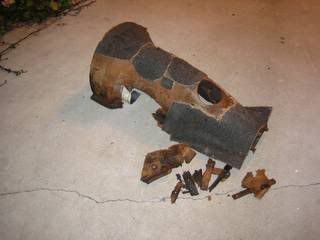
Obviously I'm not married... The cross shaft had to be cut out because the broken pin made the fork impossible to remove.

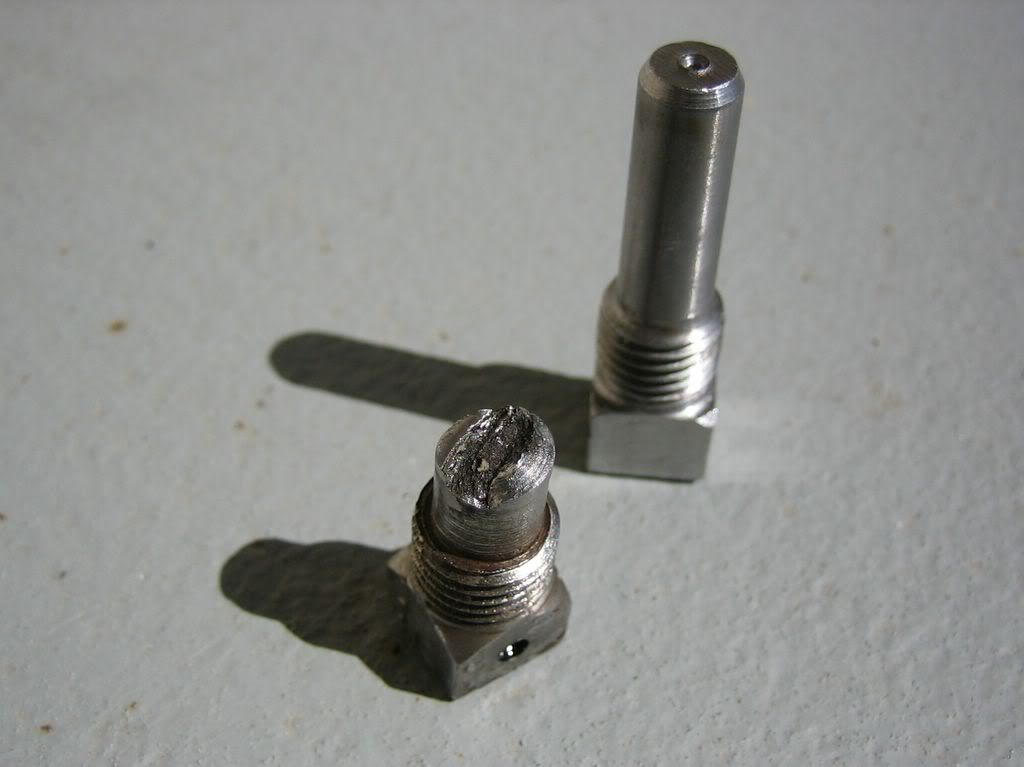
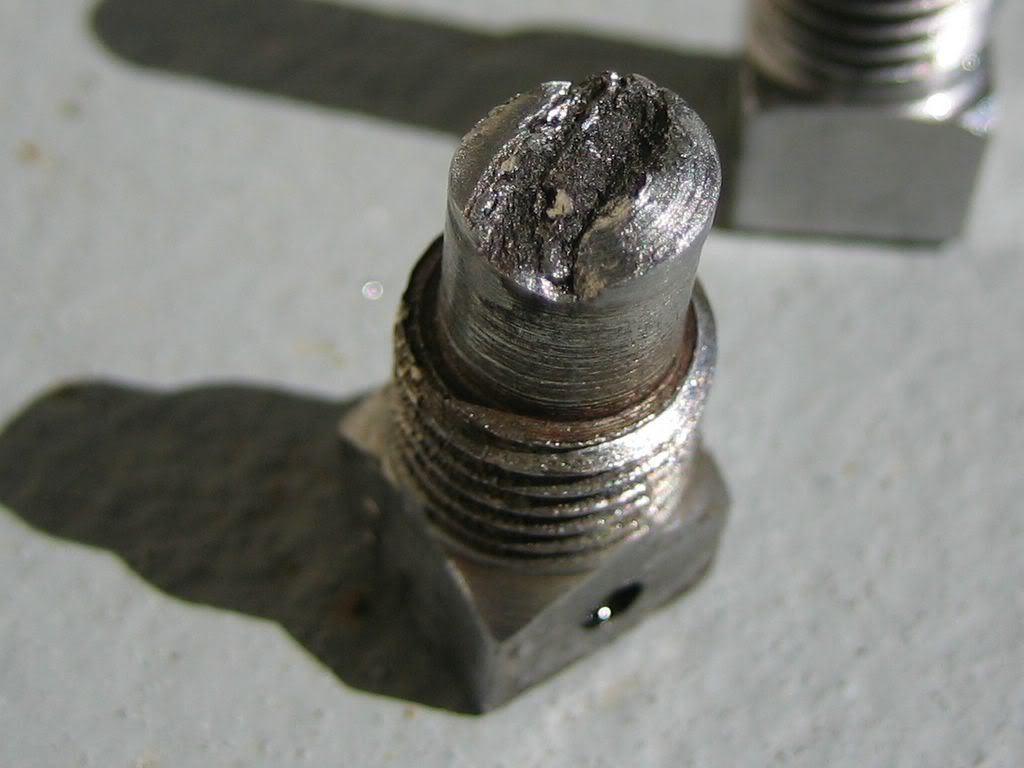
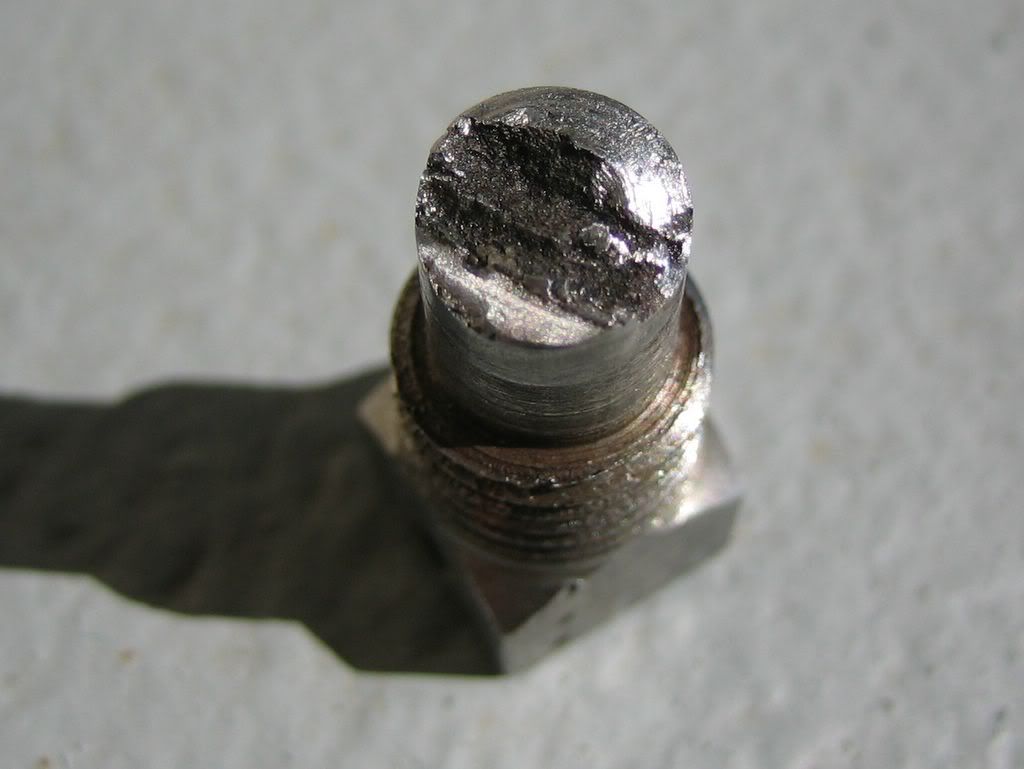
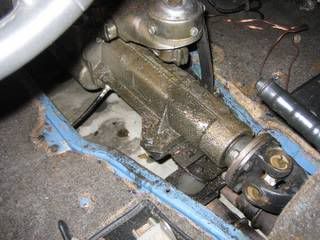
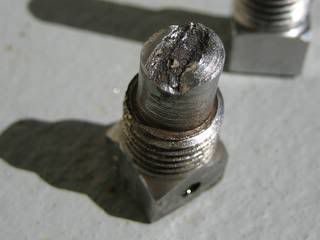
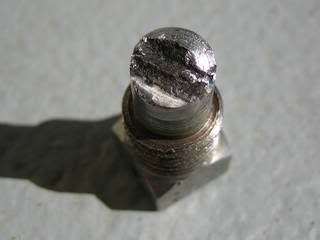
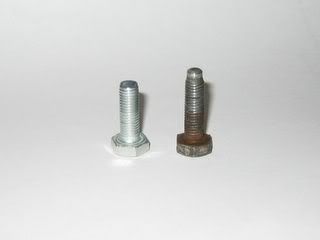
The pin holding the throw-out bearing fork to the cross shaft was in fact broken. No real surprise. I was surprised at the length of the new pin/bolt however.
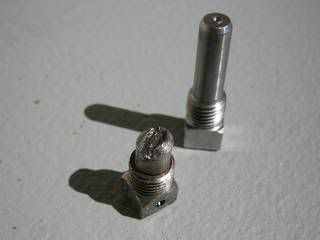
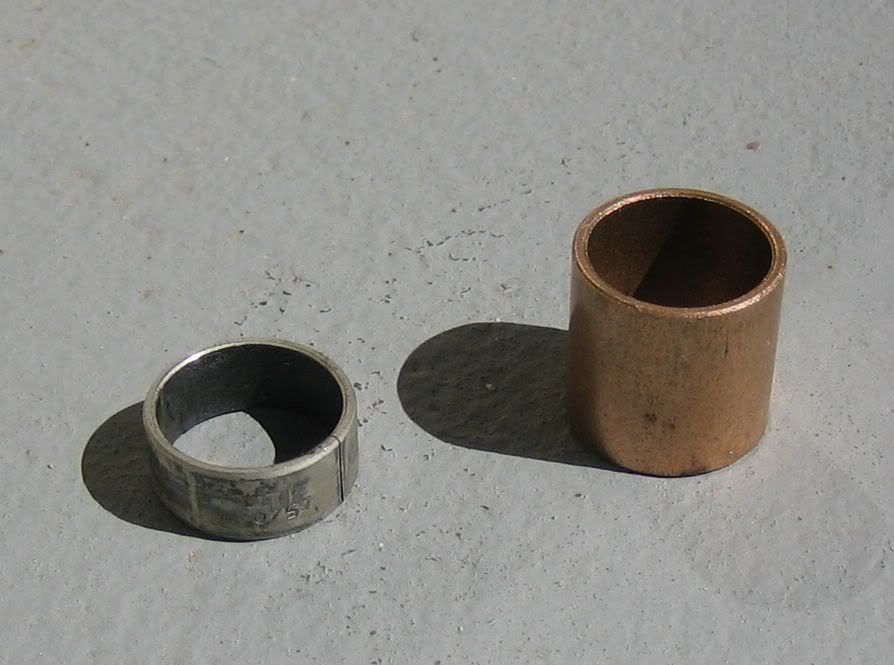
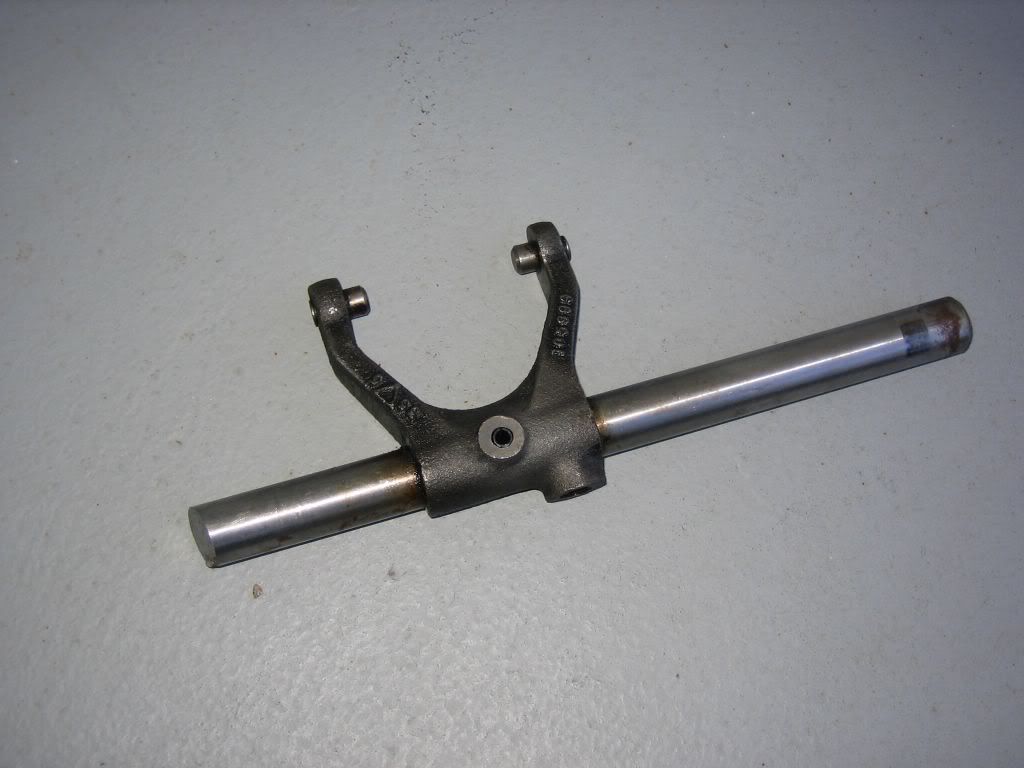
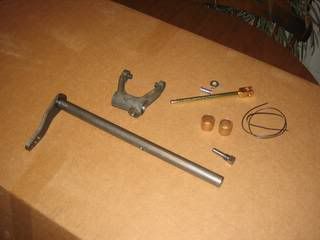
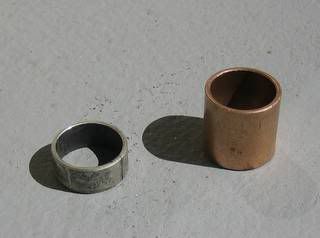
There's a picture of what you get with the TRF cross shaft/fork/pin kit. The bushings that are supplied with the kit are much wider than the original equipment.
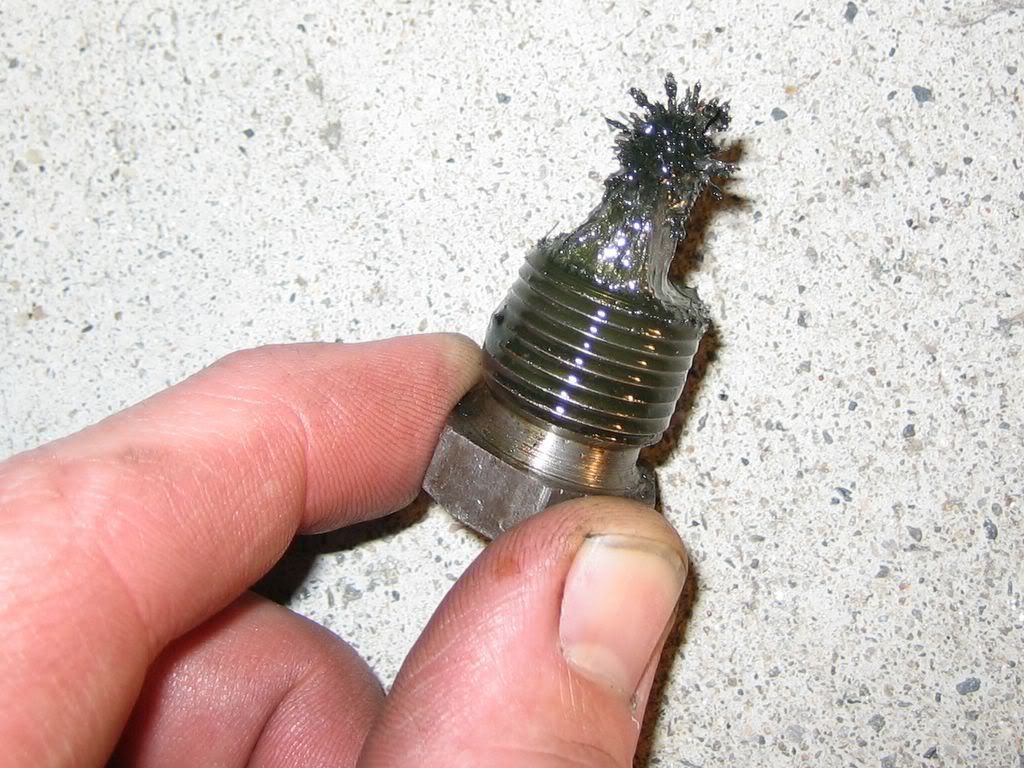
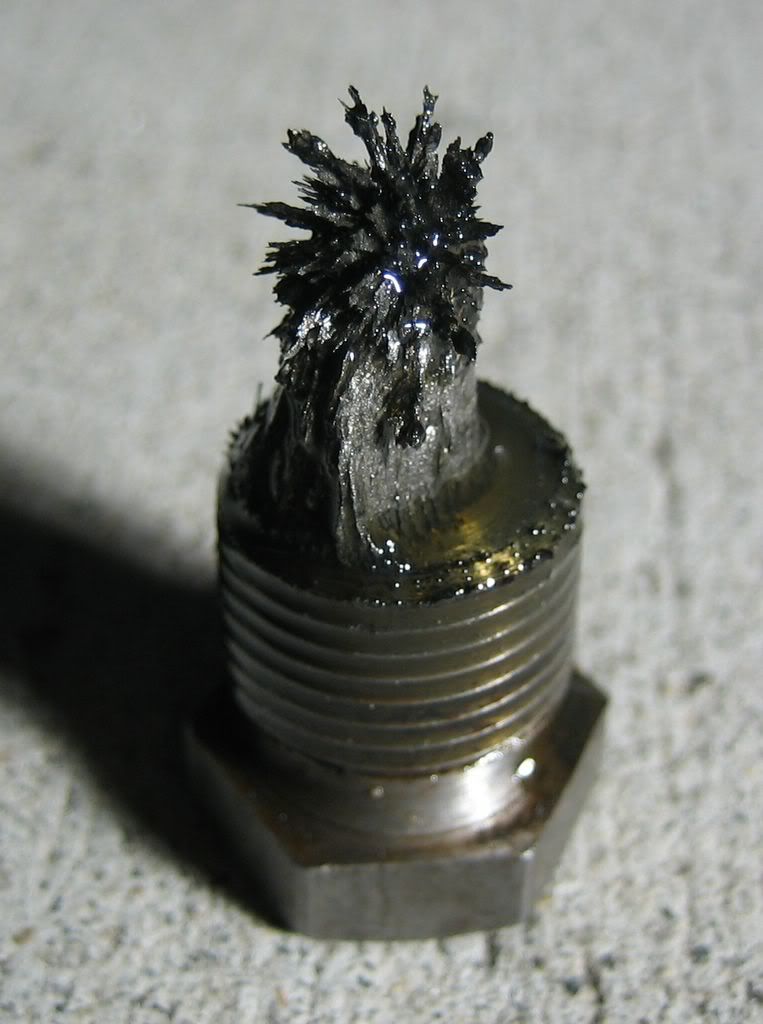
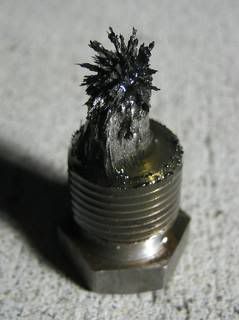
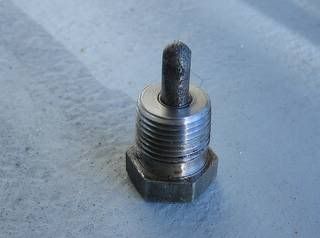
The magnetic plug from the gearbox had quite a bit of crud on it. The oil didn't really have any significant amounts of metal in it.

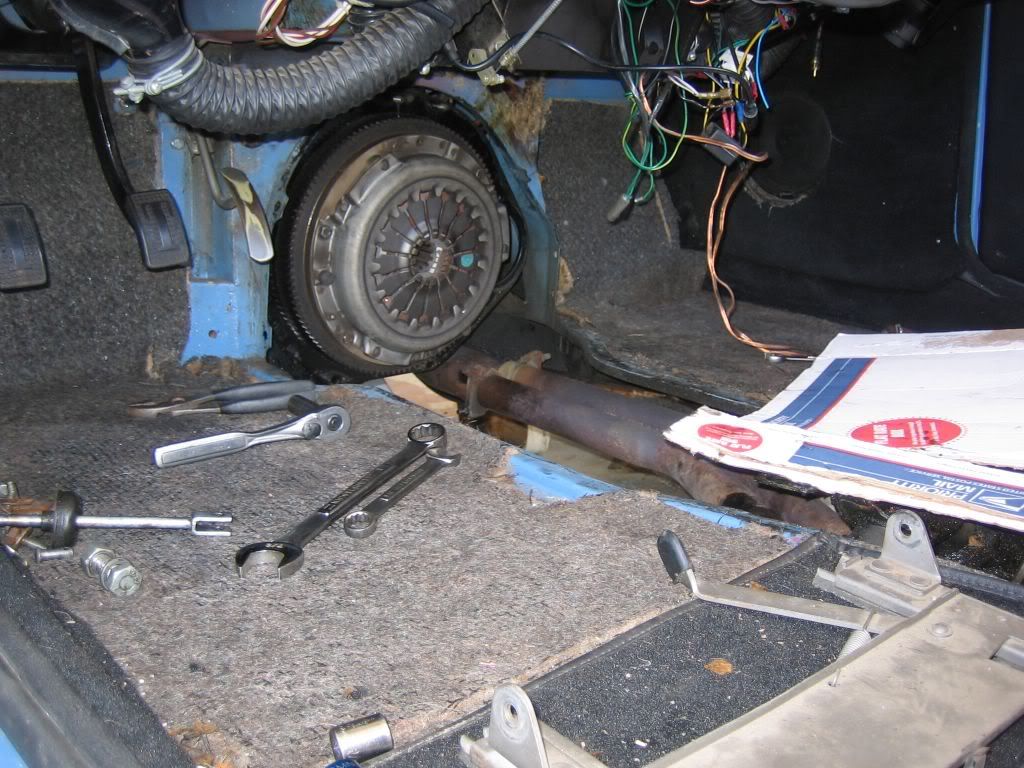
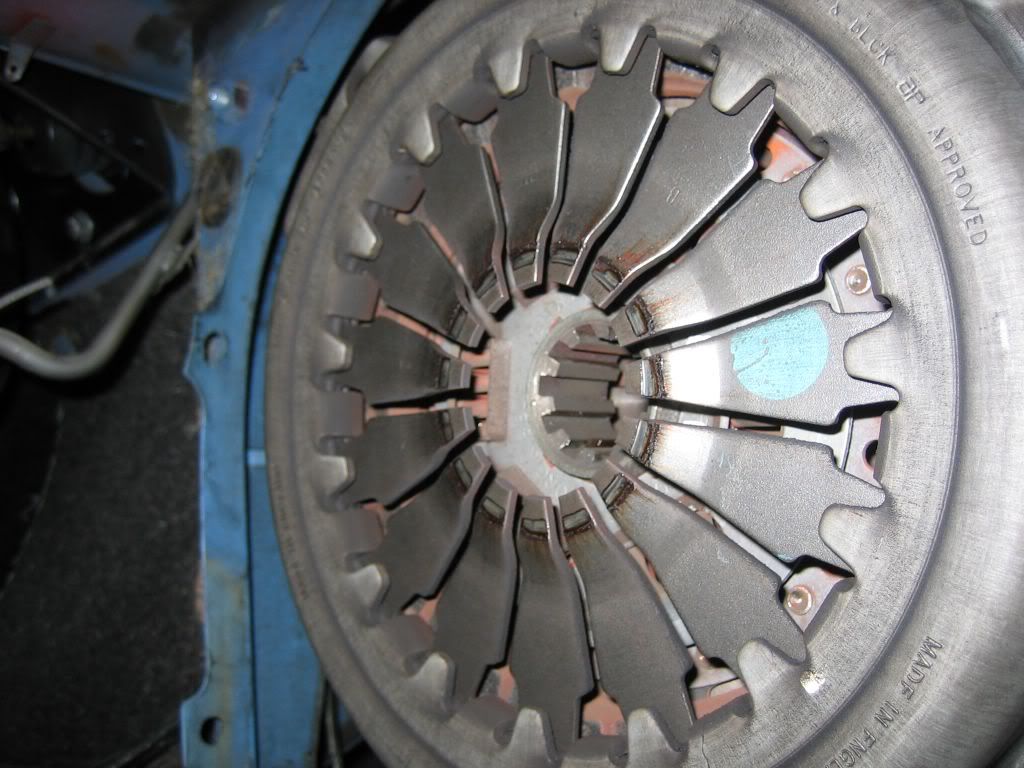
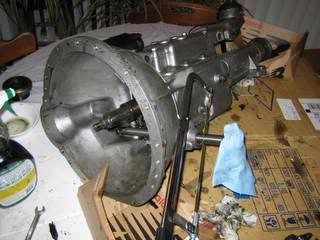
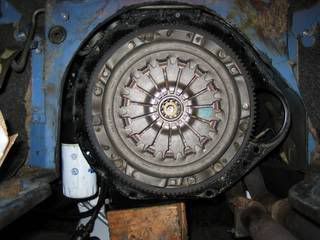
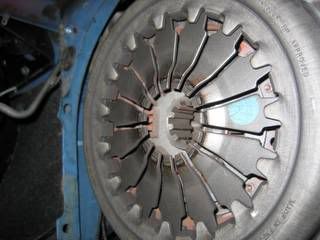
Some pictures of the clutch just because it looks cool. Looks like I have a "Blue Dot Borg and Beck" pressure plate. Shunning all good sense, advice, and shipwrights disease I did not replace the clutch or the RHP throw-out bearing. I didn't feel like spending money on things that weren't broken at this point. When they do need replacing I'll most likely get on the Gunst bearing bandwagon. You know... 3 months from now when I'm doing this job again.
Ironically I didn't document the actual repair... oops! I got caught up in the drilling of the fork and putting it all back together and forgot to snap any pictures. Heres the old cross shaft that I practiced the drilling and roll pin installation on. The one in the picture is a 1/4" roll pin, I used a 3/16" roll pin on the new one, also I installed 1.5" long pin the 1" isn't quite long enough. 1.25" would be perfect.

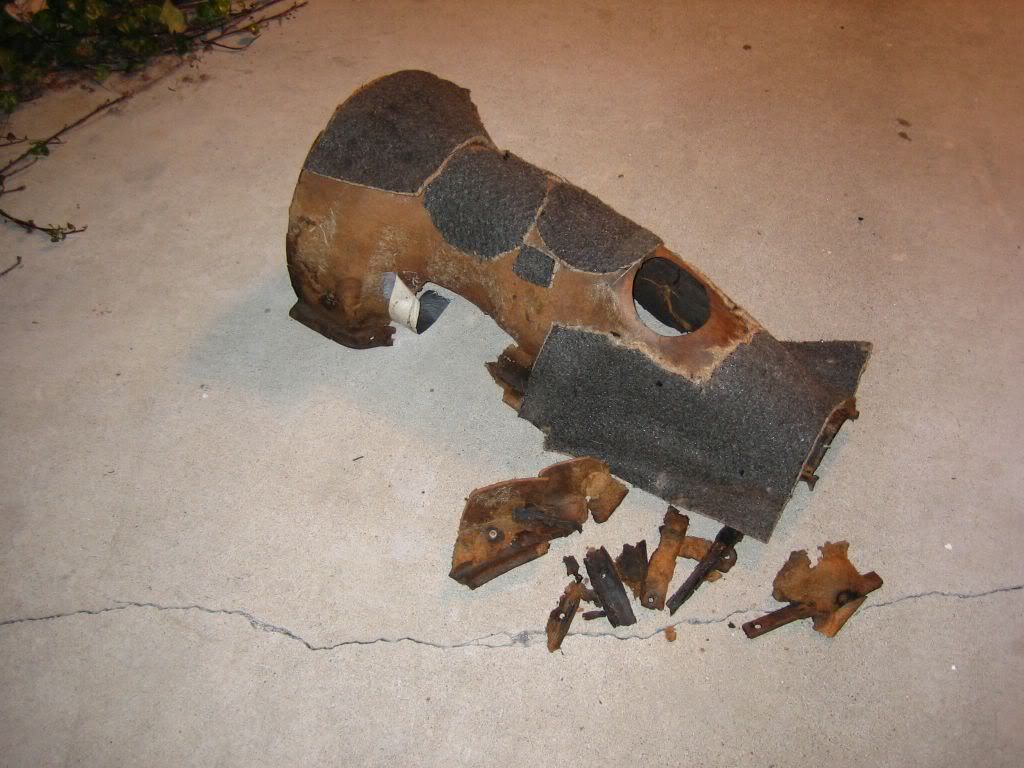
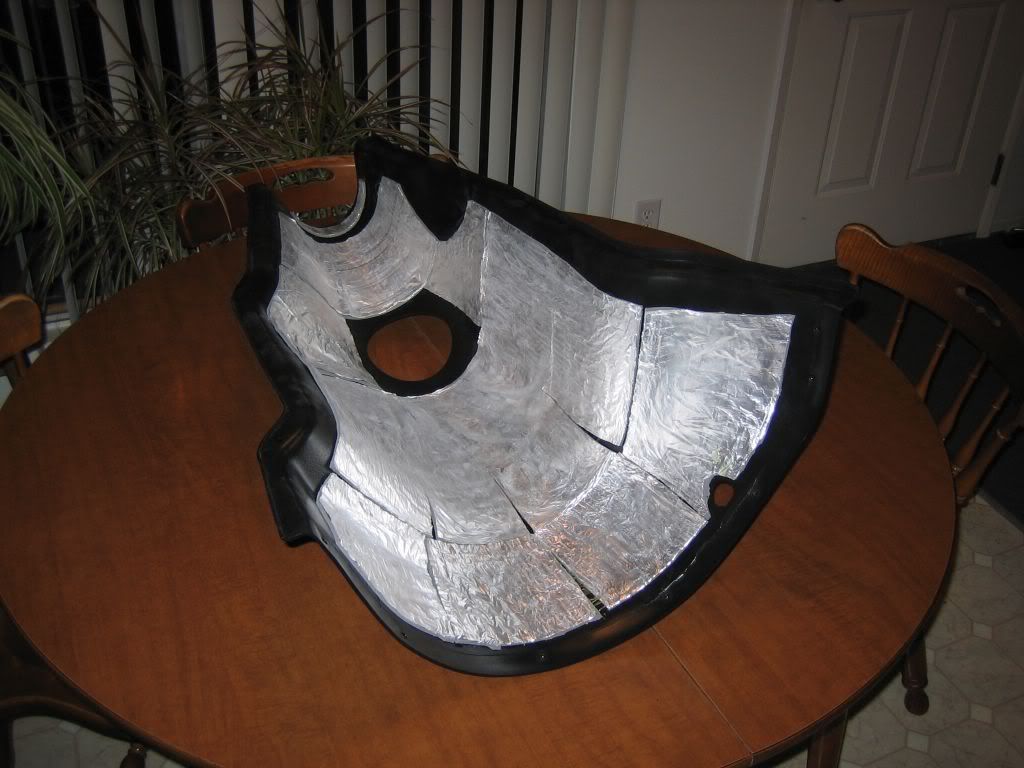
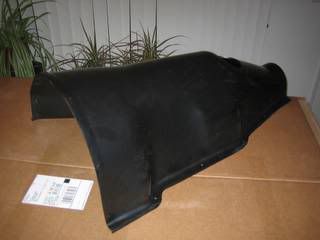
The gearbox tunnel/cover cardboard was pretty much crumbling. I ordered a new plastic one from TRF with the seals and hardware. I recieved a couple of suggestions to put some foil backed insulation on the underside of the tunnel. I used 3M Weather stripping glue to attach it. We will see if it actually stays put in the heat and grease.
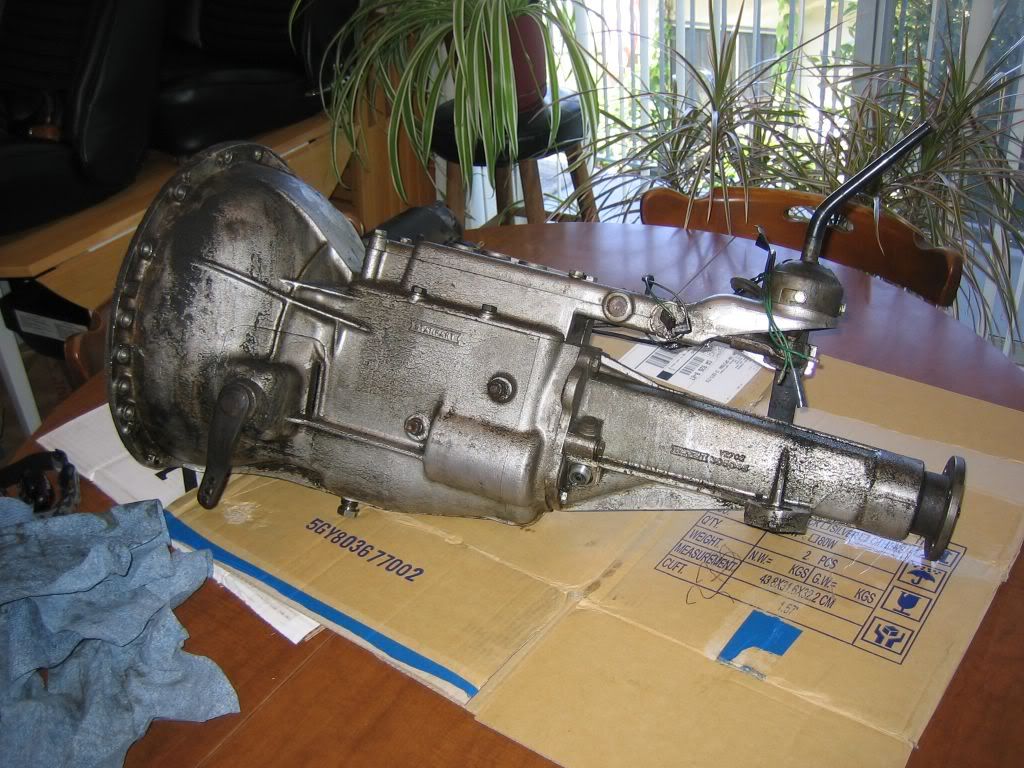
That's it for now I have the gearbox back in the car, but I don't have the new tunnel/cover installed yet. Everything is VERY LOUD with out the cover in place. I will be sending the list some questions regarding noise in the transmission that is louder than I realized. No, it's not the throw-out bearing (I don't think) because the only time that it is quiet is when the clutch pedal is pressed, and the throw-out bearing is spinning. It makes noise in neutral (quietly), 1st, 2nd, and 3rd gears. It is quiet in 4th gear. Perhaps a bearing in the transmission is bad?
Update, 5/2006
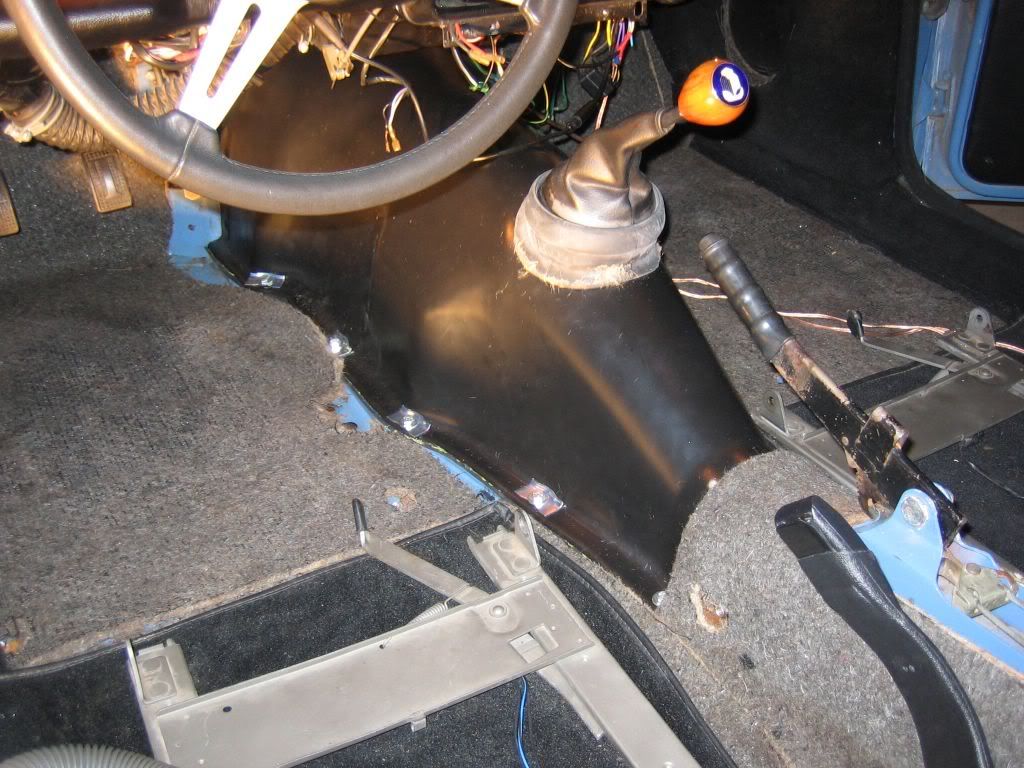
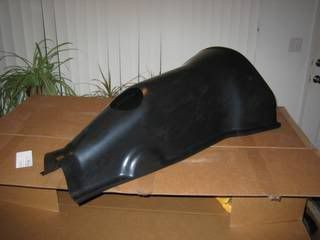
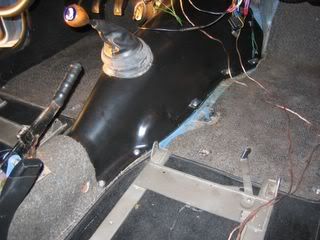
I finally got the transmission cover bolted back into place. As you can see the fit is actually pretty good. I installed it with the seals and it fit so well to the firewall that I didn't even bother to install any of those fasteners since it would have been a major hassle. Don't think for a minute that it didn't go in with at least a little bit of a fight however.
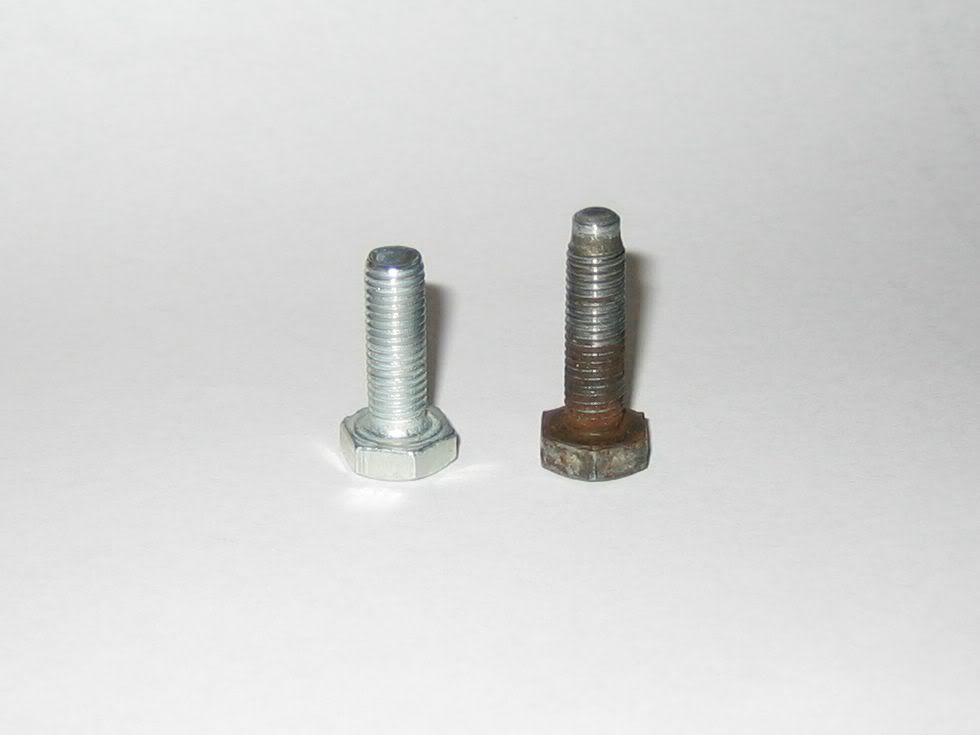
So the plastic cover that TRF distributes is cooler than I thought it would be. However I do have a gripe. I really struggled to get some of the fasteners in. After what was at least an hour and half of struggling with getting some of fasters started threading, while pushing in on the plastic and trying to get everything lined up and not cross threaded... I decided to maybe try the 'old' hardware that I had in the trunk... and hey what do you know! The old hardware is LONGER than the new stuff that TRF sends out. Using the old hardware in a few spots and ovaling out some of the holes I was able to get things buttoned up without anymore problems. So if you're about to do this... maybe save the $10-$15 whatever TRF charges for the hardware and just reuse your old stuff instead of getting the full kit.
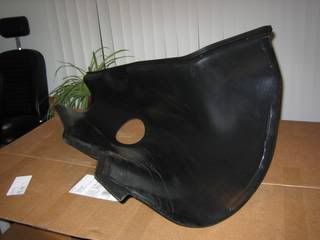
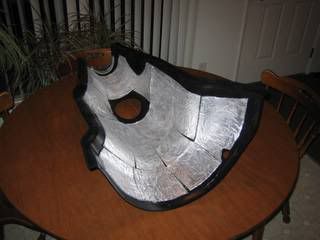
Shown below the new plastic cover with the remnants of the sound deadening kit that I think I got from Moss 8 years ago or so. The material pealed off the old cardboard gearbox cover and stuck them back down with a little weather strip adhesive. This should make it a lot harder to hear that noise I was complaining earlier on this page.
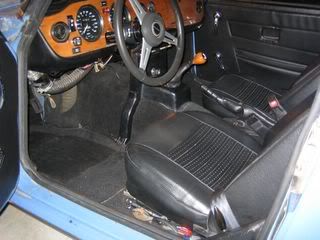
The interior is all back in now, the clutch works better now than it ever has. I think my clutch fork pin had been broken for years... Finally finished with this job for now!
my email for comments and observations...
mailkendall "at" sbcglobal "dot" net